How to Choose: Safety Interlock Solutions for CabinetsUpdated 8 months ago
The 2 Lanes of Safety Solutions
Docking Drawer offers 2 categories of safety solutions for in-cabinet power applications, all designed to add an extra layer of protection to concealed electrical applications:
Safety Solution for In-Drawer Power | Safety Solutions for In-Cabinet Power |
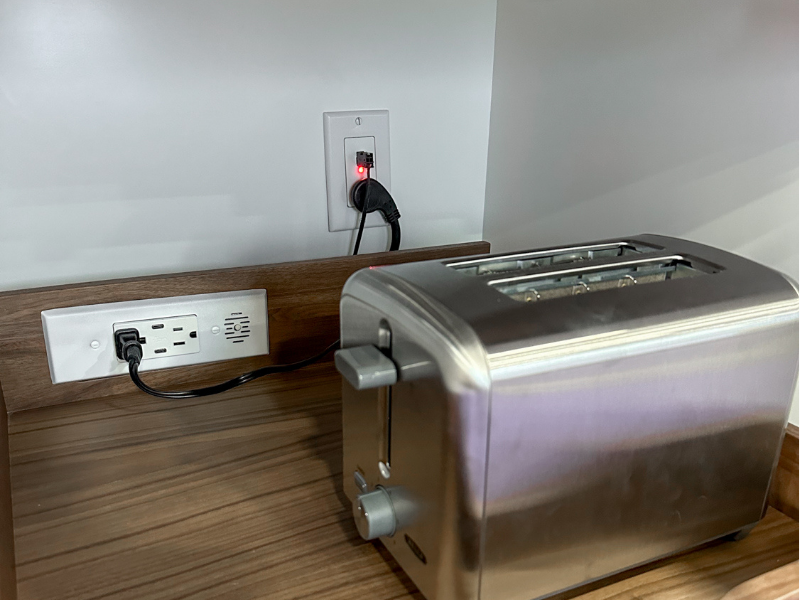 | 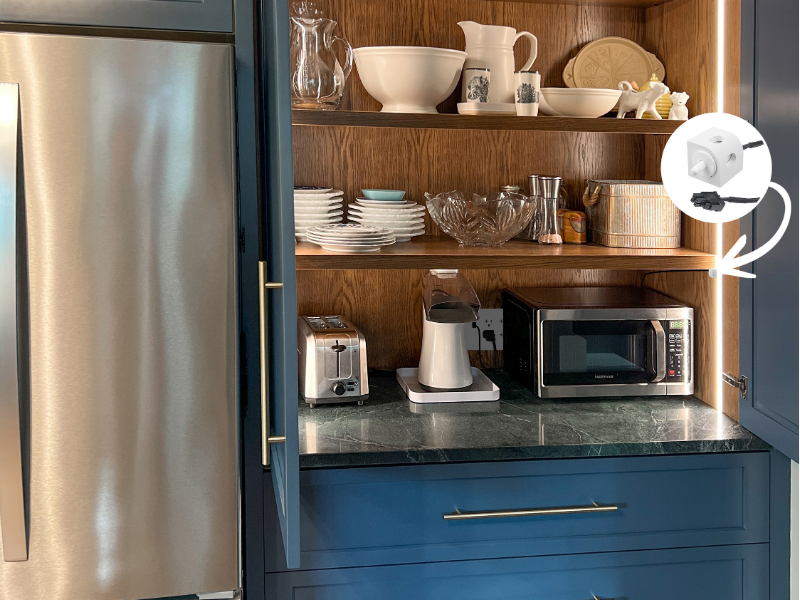 |
| Our Safety Outlet with Blade Limit Switch can be paired with any Blade Series in-drawer outlet to provide an extra layer of protection for in-drawer power. Designed to cut power to your in-drawer outlet as the drawer begins to close, this safety add-on offers an additional layer of safety (and added peace of mind) for powered appliance and vanity drawers where heat-generating devices are connected. | This family of safety solutions is designed to add a layer of protection to appliance garages and other in-cabinet electrical applications concealed by a door. When the cabinet door contacts the corner mount switch, it will trigger the disconnect to de-energize or energize the outlet and connected devices, depending on which corner mount limit switch is used. |
The first solution (the Safety Outlet with Blade Limit Switch) is relatively simple, with a single available product type–so this article will focus on variations of our safety solutions for in-cabinet power.
Safety Solutions for In-Cabinet Power
Appliance garages are quickly gaining popularity in kitchen designs across North America, and our safety solutions for in-cabinet power offer an additional layer of safety for enhanced peace of mind when powering small appliances or other heat-generating devices behind a cabinet door. Read on to learn everything you need to know about how these solutions create safer spaces and how to choose the right product for your project.
How They Work
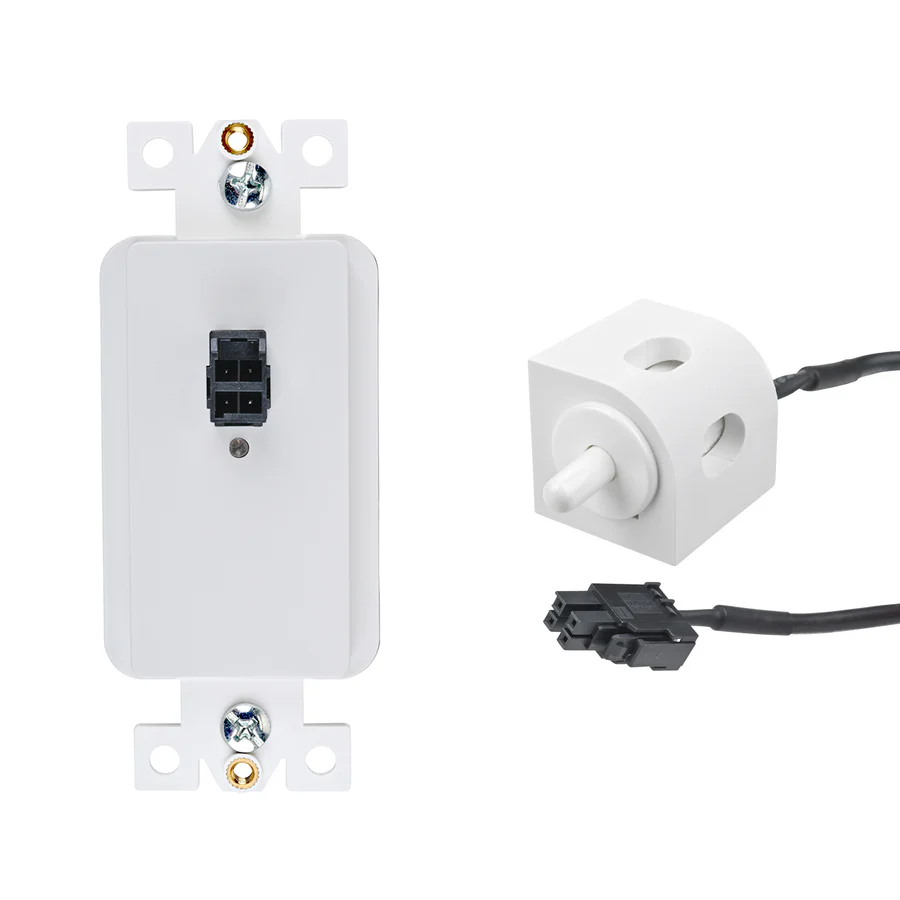
While we have a variety of safety outlets for appliance garages, they all work in a similar way. Every solution comes with these 2 key components: the safety interlock outlet, and the limit switch.
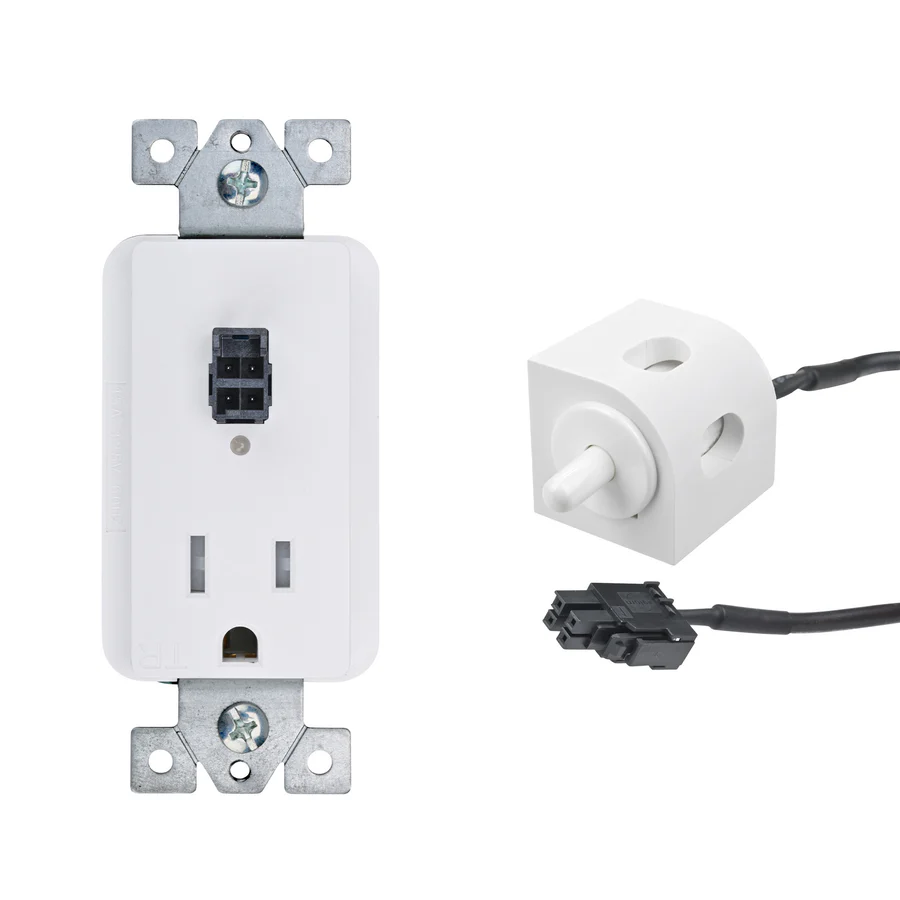
Safety Outlet: Install into a junction box, then connect the limit switch.
Limit Switch: Mount the switch and connect it to the safety outlet. When the switch interacts with the cabinet door, it turns the AC outlet power OFF or ON depending on which limit switch is specified.
How to Choose
There are a few key considerations that will help you choose the right solution for your appliance garage.
First, identify how many devices you’ll need to automatically power off when the cabinet door is closed:
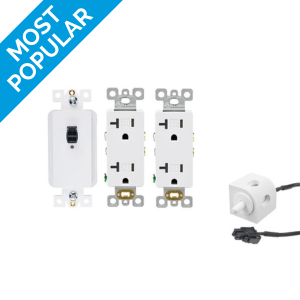
| Device Capacity (Number of AC Ports) | 4 | 2 - 4 | 1 |
| How it Works | Install the Safety Interlock Disconnect into a triple-gang junction box along with the 2 included outlets. | Install the Safety Interlock Disconnect into any double or triple-gang junction box along with 1-2 UL-Listed AC outlets (AC outlets not included). | Install the Safety Interlock Outlet into any single-gang junction box. |
| What’s Included | (1) Disconnect Outlet (2) 20 amp outlets with (4) AC ports | (1) Disconnect Outlet | (1) Safety Interlock Outlet with (1) AC port |
 |  |  |
Next, you’ll want to understand your cabinet door setup to choose the correct “limit switch state”:
Limit Switch State | ||
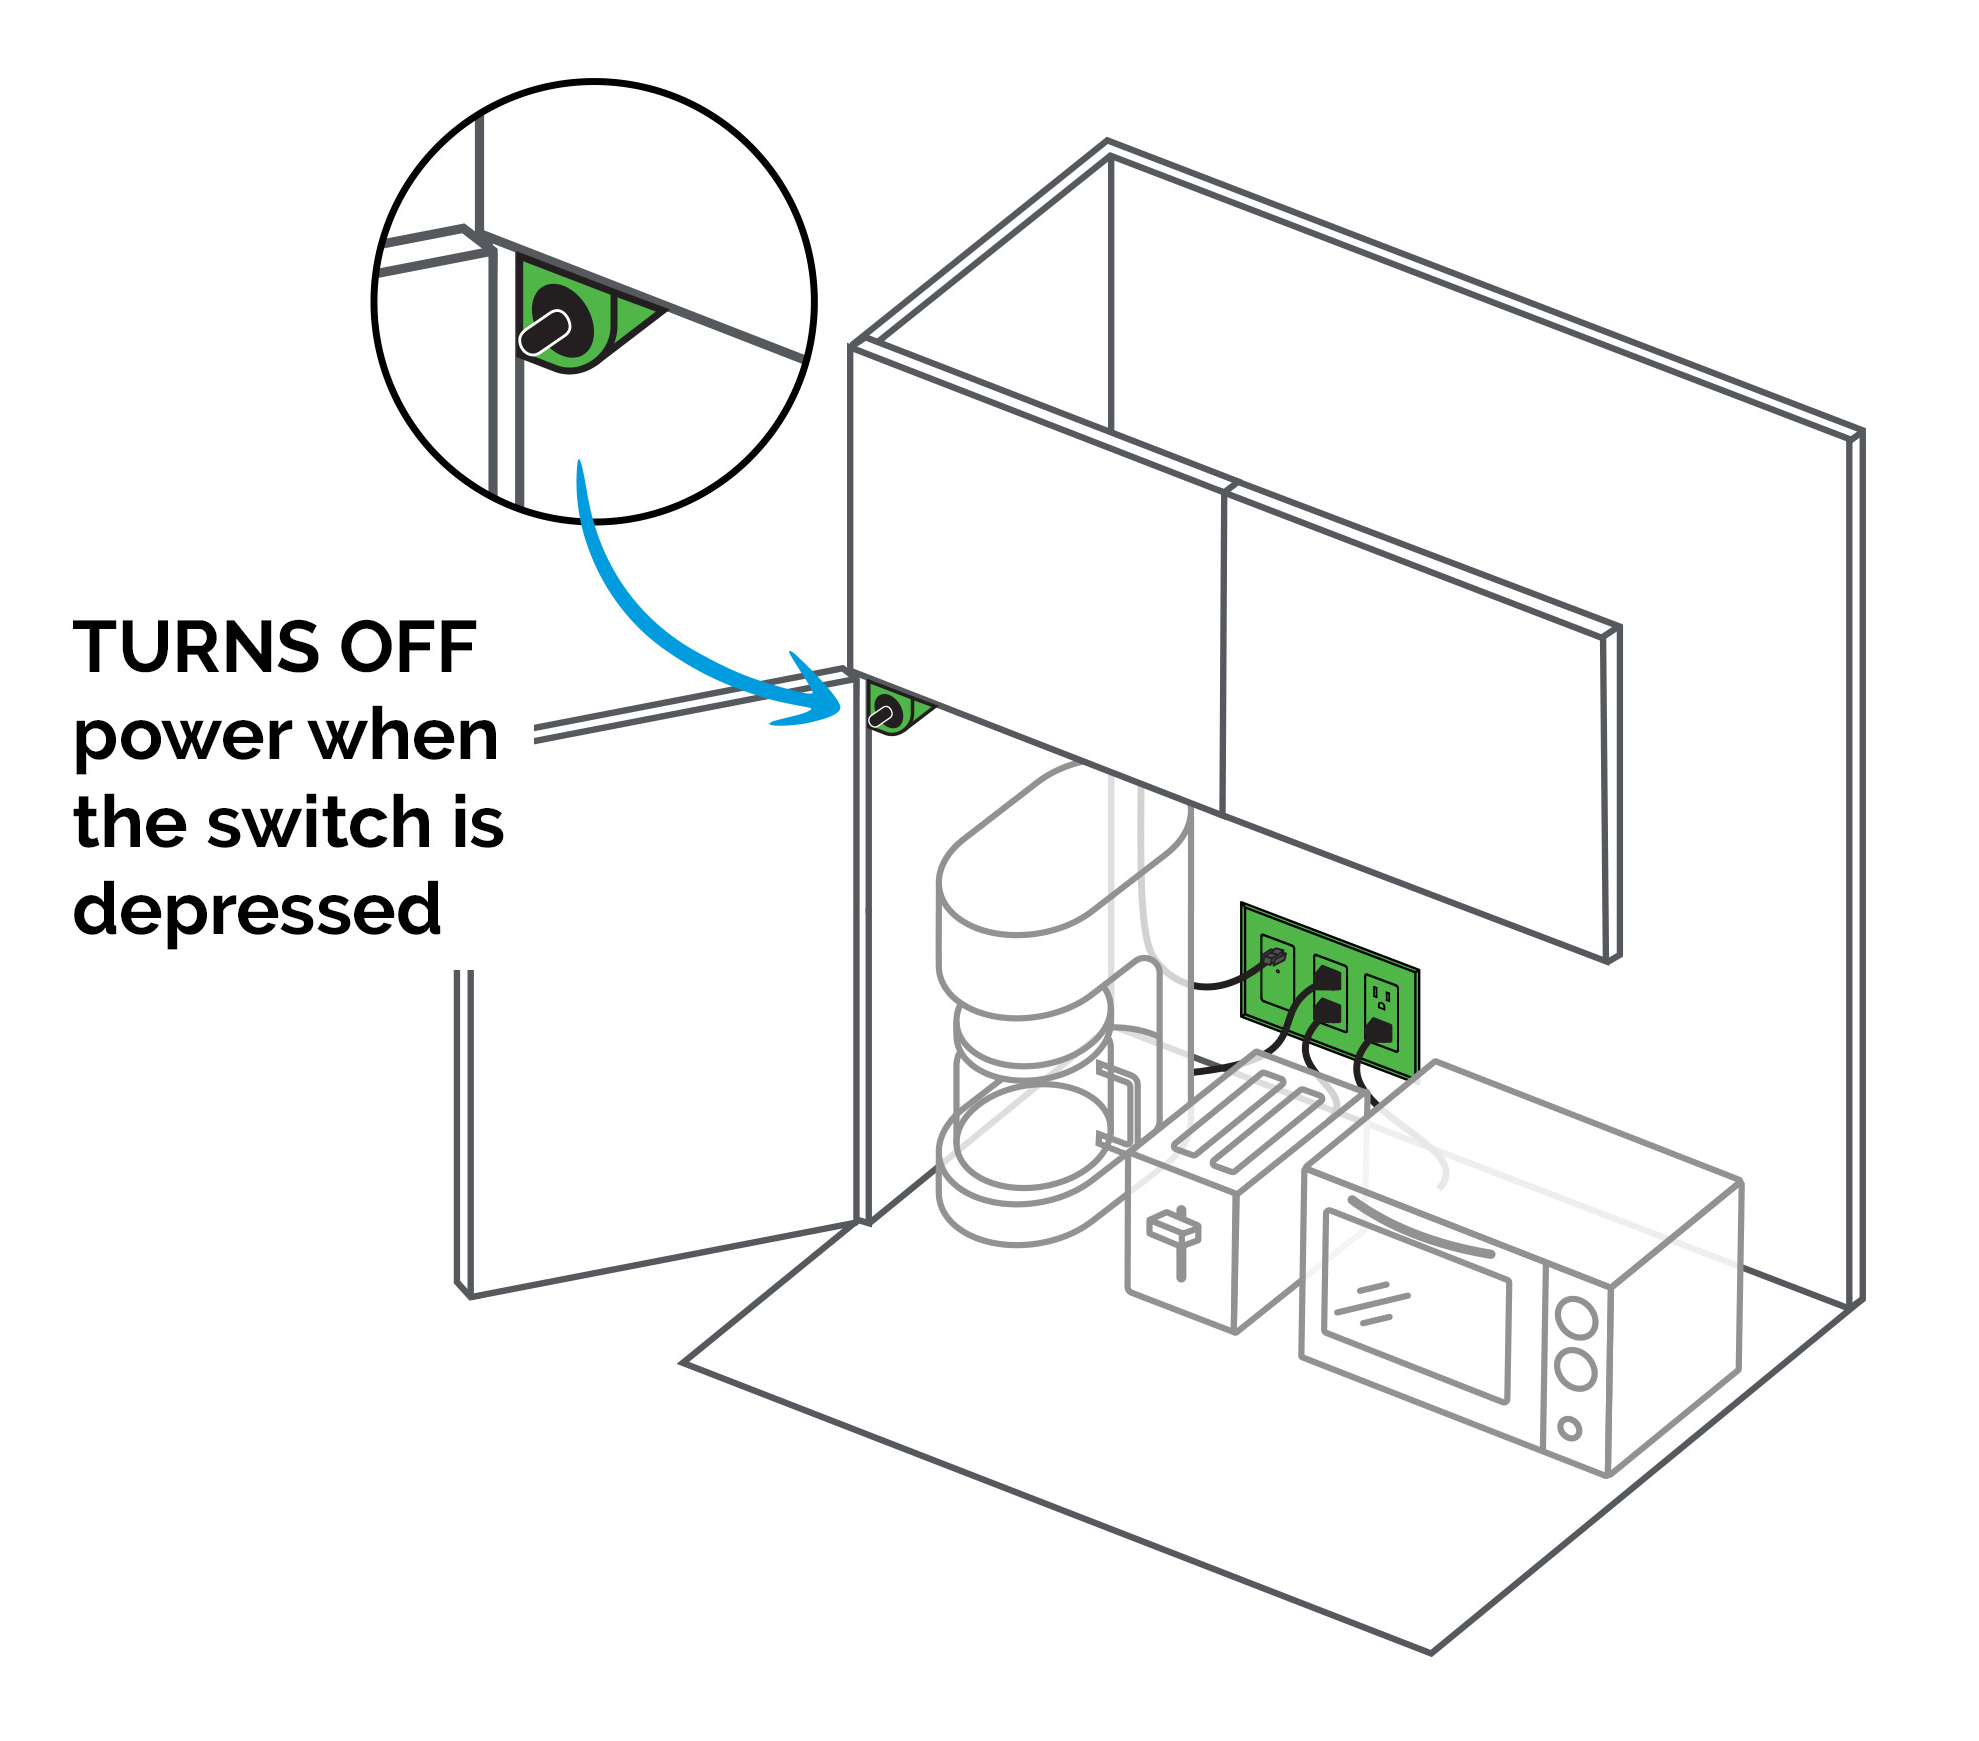
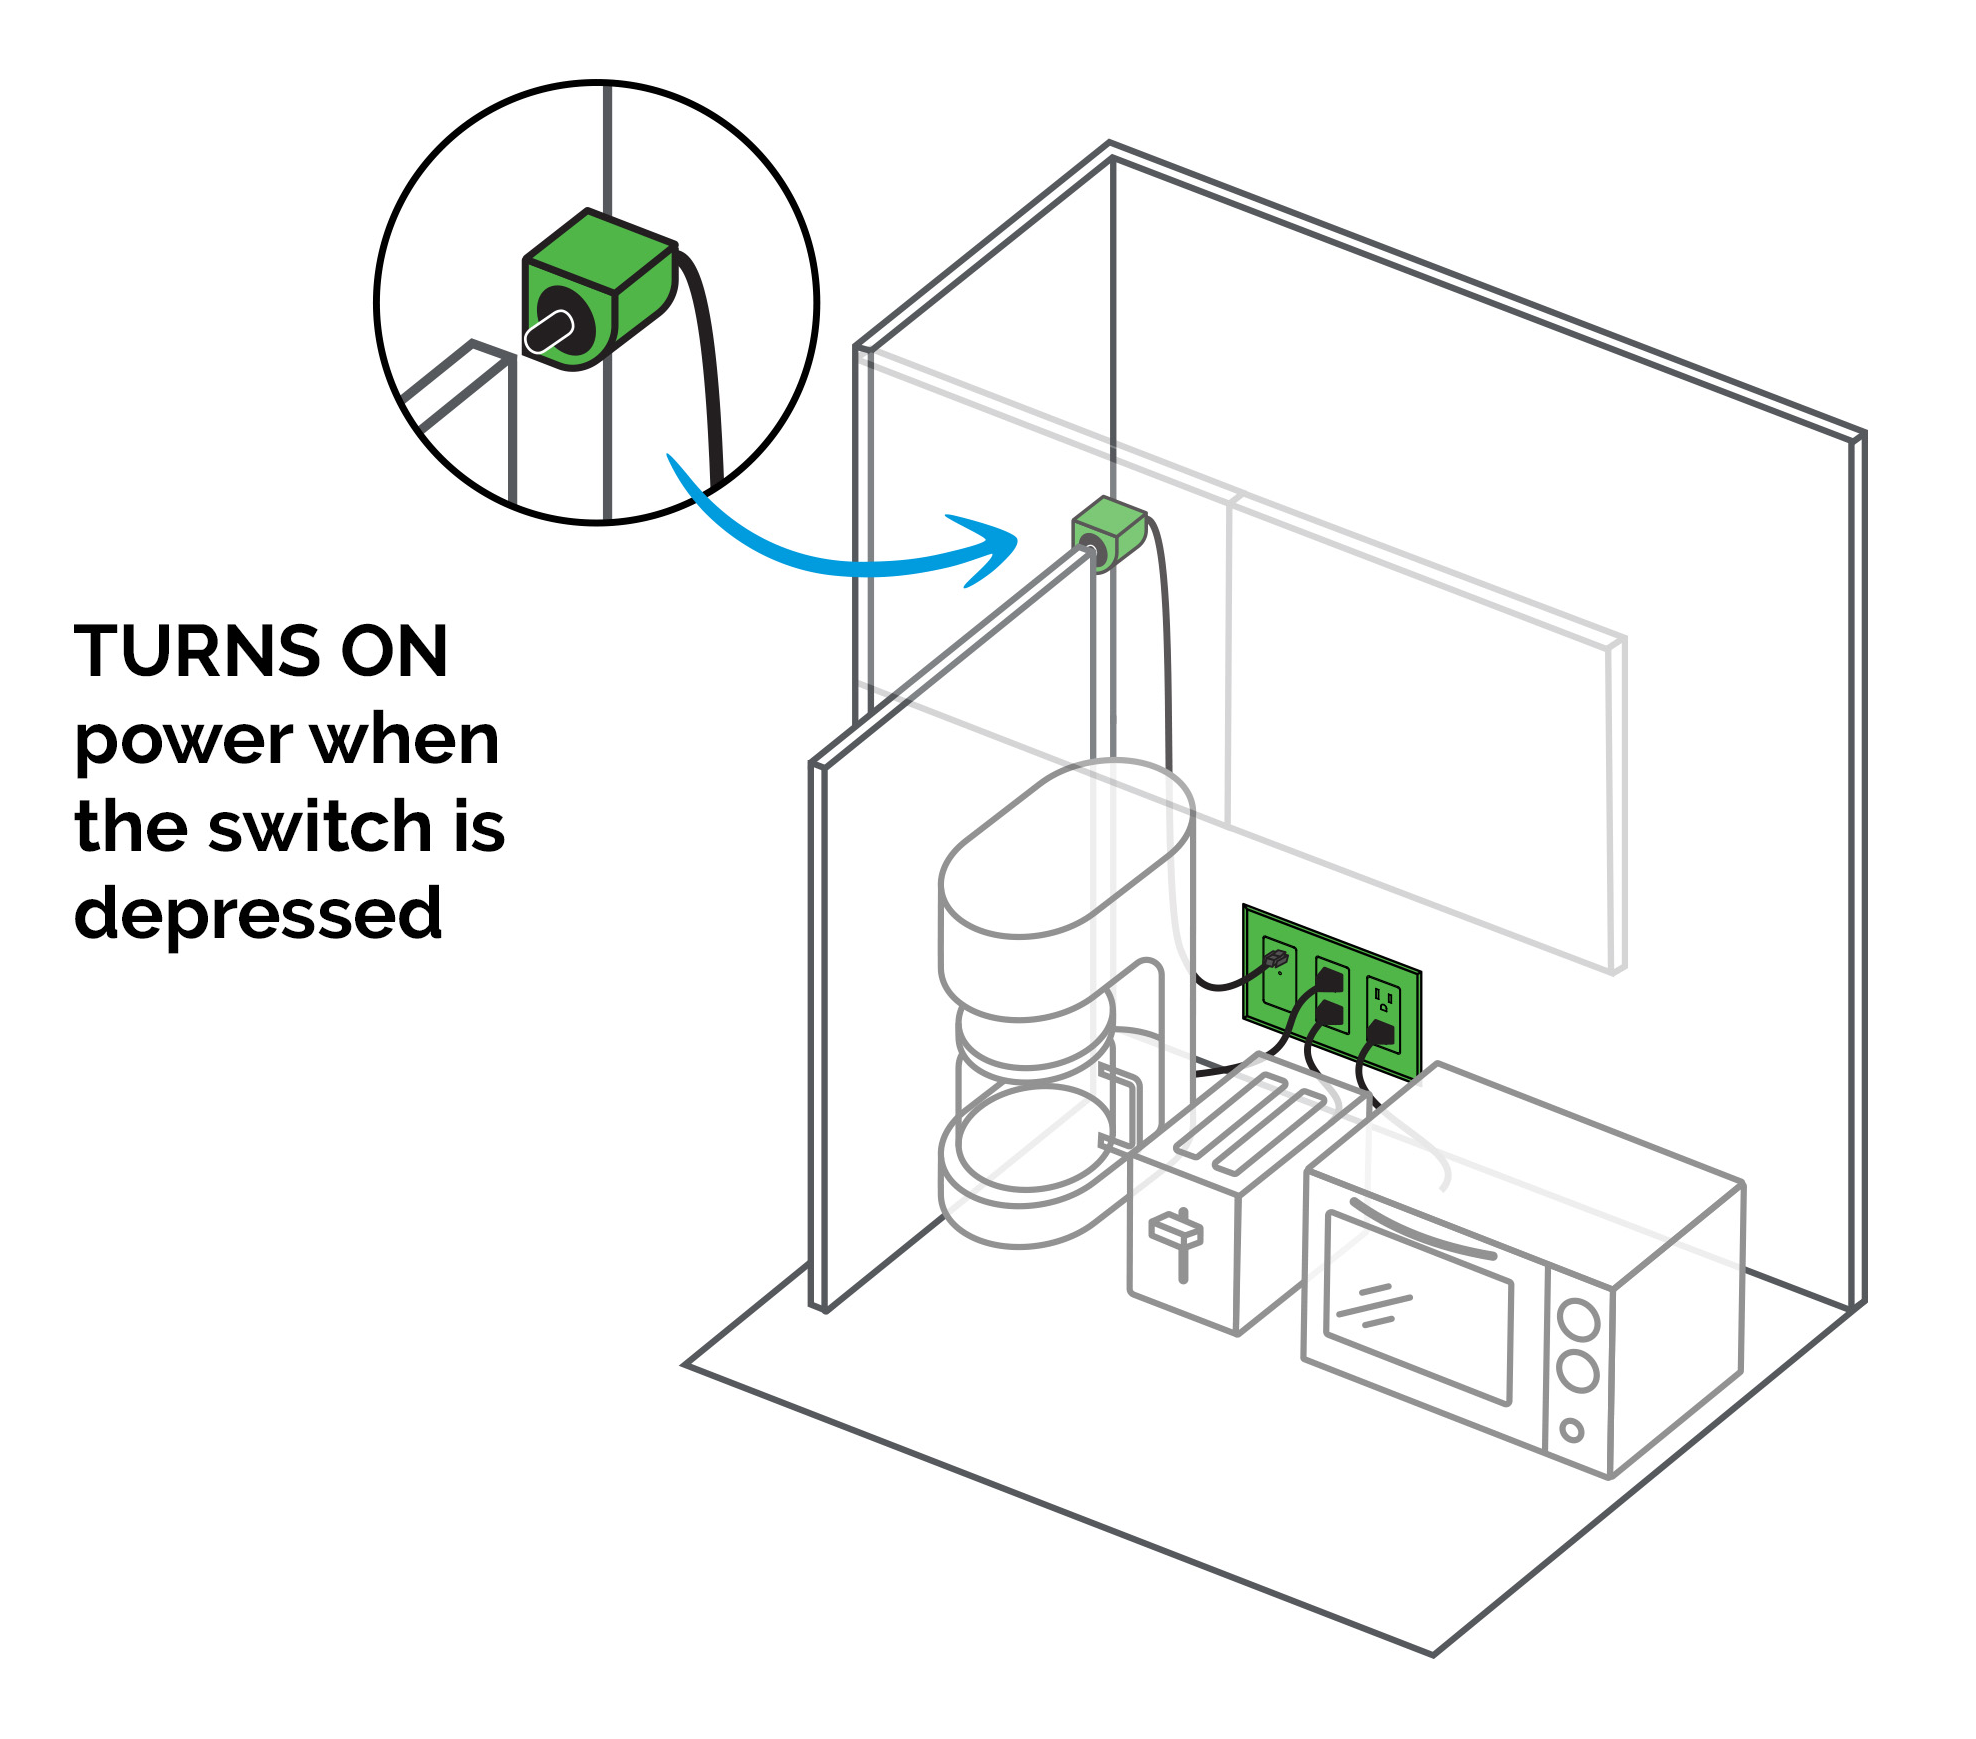
Power Off When Depressed | Power On When Depressed | |
| How It Works | Depressed Limit Switch Turns power OFF. | Depressed Limit Switch Turns power ON. |
| Cabinet Door Action | Ideal for traditional cabinet doors, where closing the door depresses the limit switch to turn the power off. | Ideal for pocket door setups, where the door being pushed back upon opening will press the switch to turn power ON. |
 |  | |
Though our safety solutions for in-cabinet power were designed for appliance garage applications, they can be used for a wide variety of projects. These NEC and CEC-compliant solutions are approved for use in the US and Canada and offer an added layer of safety that’s guaranteed to enhance peace of mind for projects of many kinds.
Planning a more complex project? Contact us for project planning help, or check out our articles on how to connect 2 limit switches to 1 safety outlet, or how to connect 1 limit switch to 2 safety outlets.